Are DIY Medical Face Mask Any Good?
In times such as now, wearing a facial cover is a top priority. It shields the wearer from asymptomatic carriers and keeps the pathogens away from the nose and mouth.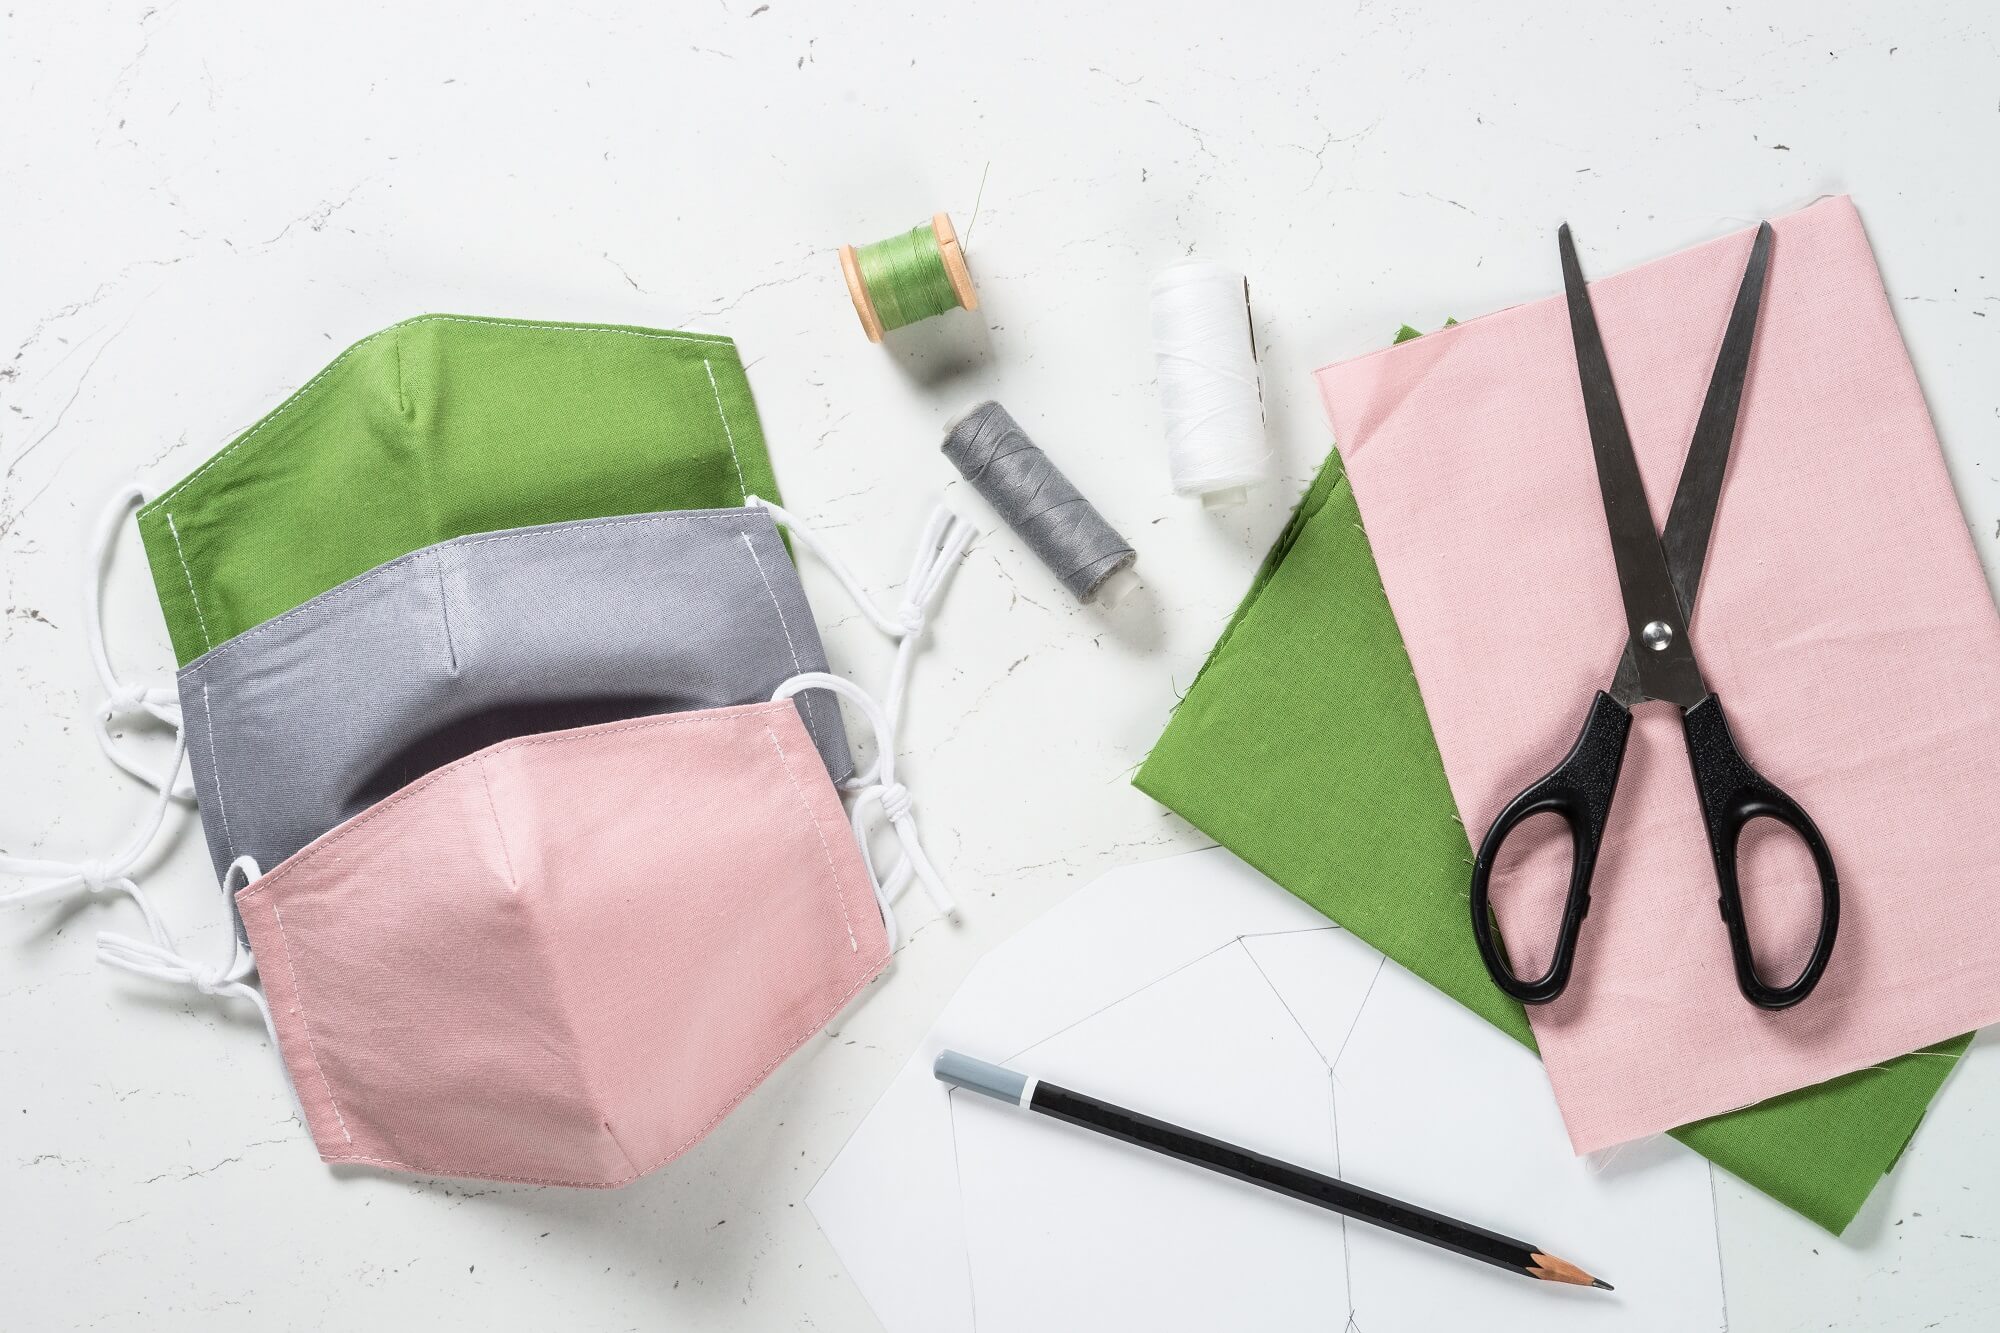 Millions of people wear one every day since they are mandatory in more than 50 different countries.
But because of the high demand, there is a constant shortage of surgical facial covers. So, some people will have to make their own.
Of course, there is a significant difference between a surgical mask and a DIY face cover. The surgical one is manufactured so that it will expand across the face and cover all the essential areas. As a result, they can filter out from 10%-90% of the air pathogens.
The DIY option has to be a tight fit. The droplets have to get stuck inside the mask and remain there, explains Dr. Larry Chu, an expert anesthesiologist and a professor at Stanford University. When making them, you shouldn’t leave out any gaps in the cheeks, nose, or near the jaw.
Note: Don’t use the DIY mask as a substitute for other preventive strategies. It is crucial to follow social distancing guidelines and maintain proper hygiene.
Millions of people wear one every day since they are mandatory in more than 50 different countries.
But because of the high demand, there is a constant shortage of surgical facial covers. So, some people will have to make their own.
Of course, there is a significant difference between a surgical mask and a DIY face cover. The surgical one is manufactured so that it will expand across the face and cover all the essential areas. As a result, they can filter out from 10%-90% of the air pathogens.
The DIY option has to be a tight fit. The droplets have to get stuck inside the mask and remain there, explains Dr. Larry Chu, an expert anesthesiologist and a professor at Stanford University. When making them, you shouldn’t leave out any gaps in the cheeks, nose, or near the jaw.
Note: Don’t use the DIY mask as a substitute for other preventive strategies. It is crucial to follow social distancing guidelines and maintain proper hygiene.
What Kind of Material Should I Use?
There are a lot of speculations as to what fabric to rely on when sewing your own facial covering. Do have in mind that these covers are not meant to look good, but to protect the body. Therefore, bandanas that don’t cover the nose or the entire jaw should be avoided. According to the CDC, it is best to use a 100% cotton fabric. It adds just enough layers to make a sturdy mask and has the right thickness to promote easy breathing. Do not use anything that is too thick, for example, a vacuum cleaner bag. You might think you get plenty of layers and excellent coverage, but with a material such as this, it is easy to suffocate. So, avoid fabrics or materials with extreme thickness.How to Make a Face Mask
If you have basic sewing skills and decent hand control, it is time to construct your personal medical face mask. You can choose the design and pattern you like. The key is to create just enough coverage that will protect the mouth and nose. It should be attached behind the ears or tied at the back of the head. Once you’ve decided on the colour and design, you are ready to start sewing your first DIY cover. For sewing a face mask, you will need: • 2 pieces of 1.5inch by 40inch cotton fabric (this will be the straps; if you don’t have extra material, feel free to use a ribbon or a shoelace) • 2 main pieces of 7inch by 9inch cotton fabric (you can use towels or T-shirts to get the material, but clean and dry them first) • Sewing supplies (needles, pins, ruler, thread, etc.)Instructions
Step No. 1: Pick which side of the material will be the exterior and the interior of the mask. In this guide, we will refer to the outside or exterior as the “right side” of the mask. Then, sew the two main pieces together. Both the right sections you selected should be facing one another. Sew almost the entire pieces, but leave out a tiny part, just a couple of inches on the longer side.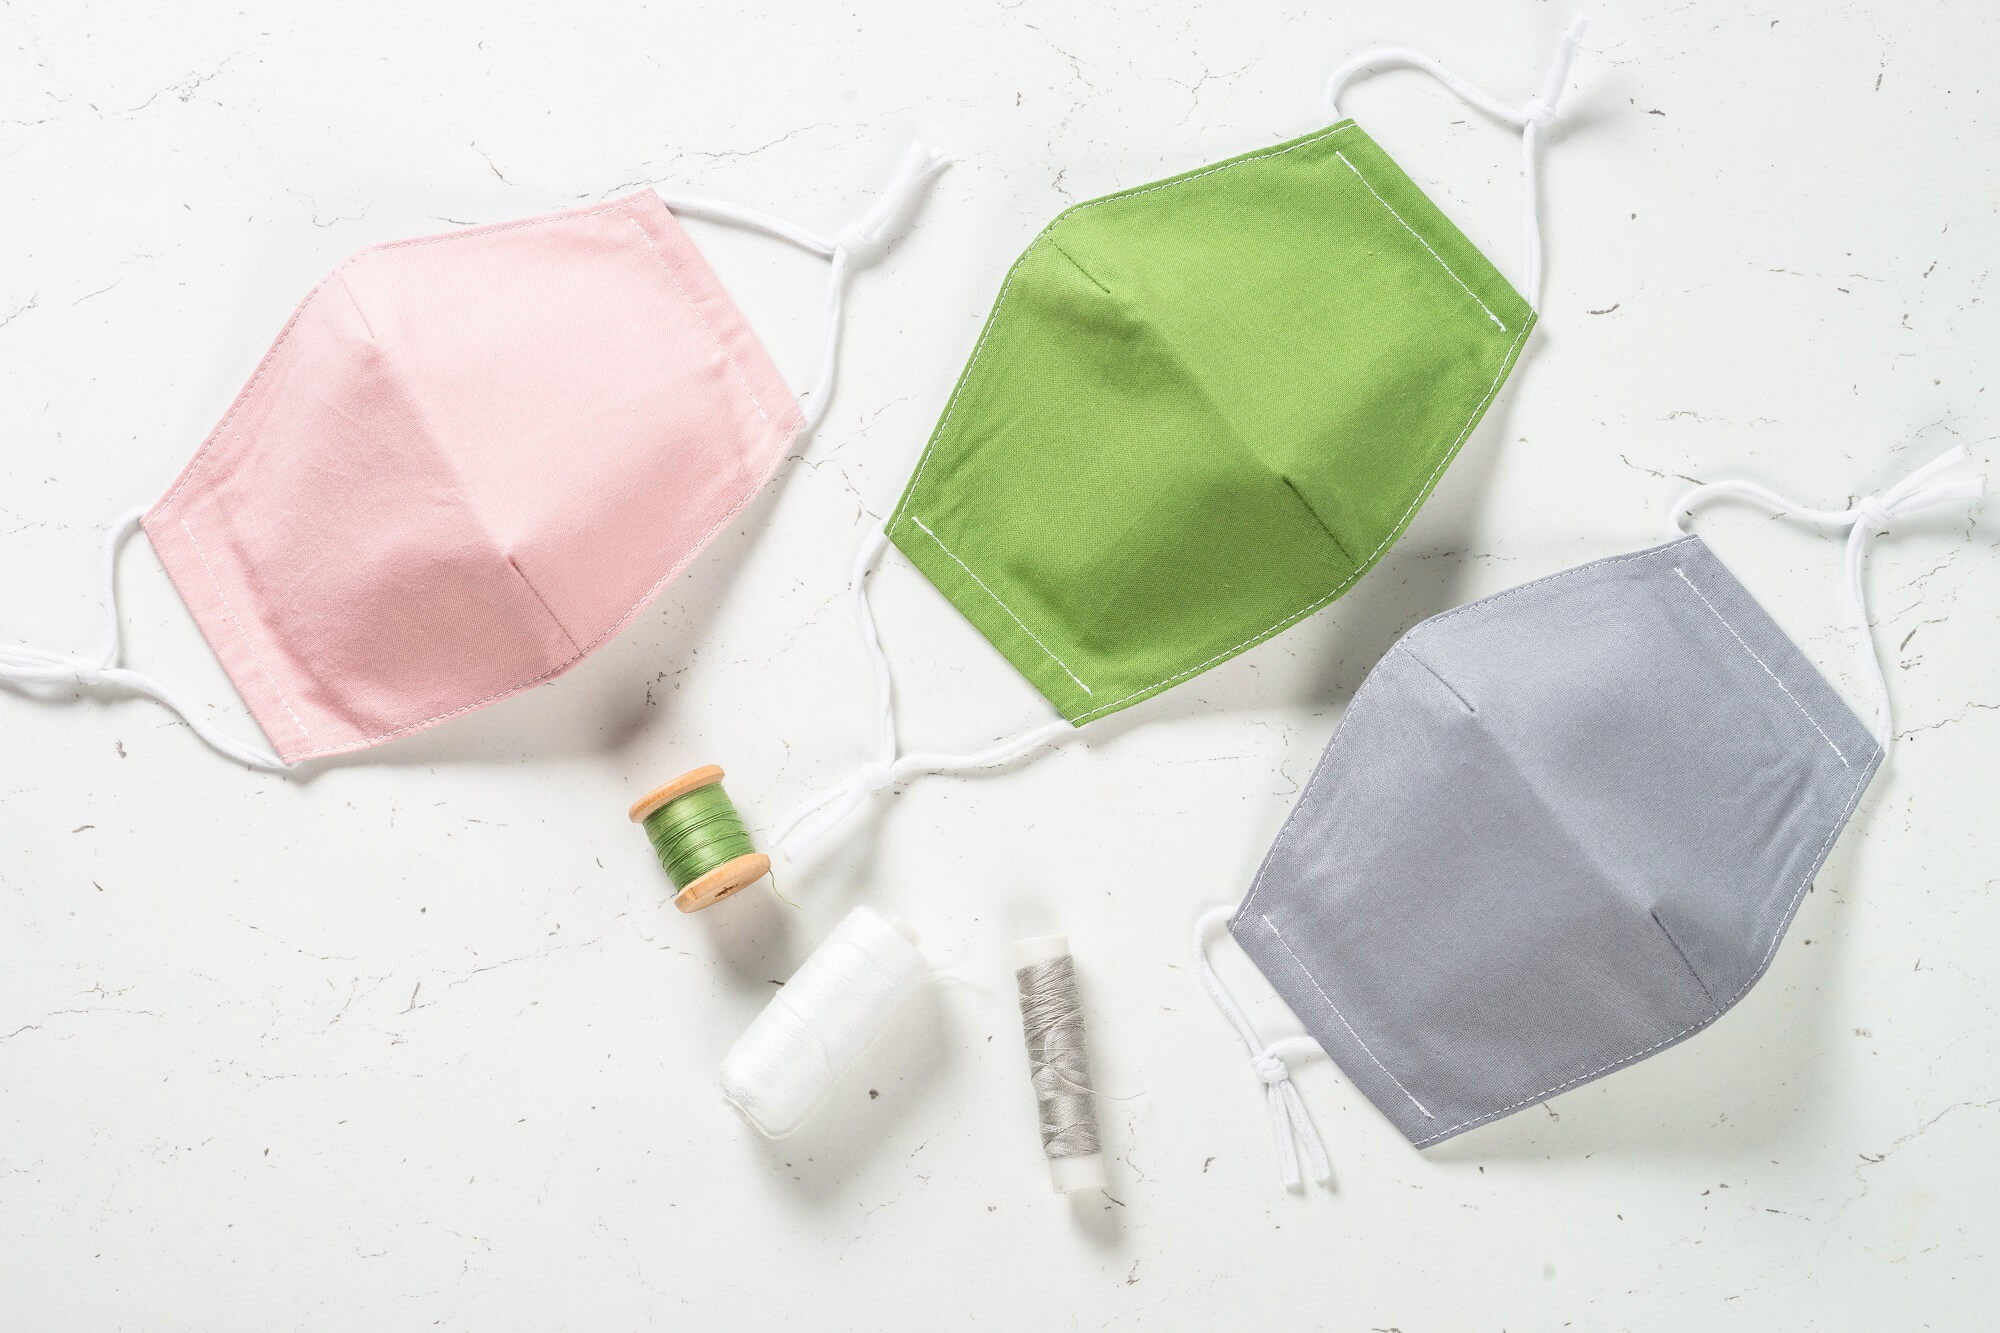 Step No. 2: Turn the “right side” out. Reach into the tiny section you selected and pull the fabric through the gap. Each edge will now be on the inside, which means you have successfully connected the two pieces. Tuck the edges in the section you left in Step 1 and leave them there. You will join the gap later.
Step No. 3: Form 3 pleats along the 7inch section of the fabric. Have in mind that these pleats need to be evenly dispersed and face the same direction. Pin them in place so you won’t lose track of the pleats.
To start marking the pleats, take out a pin and pinch it inside the fabric just 1.5 inches down the shorter side of the material. Then, put another pin just an inch bellow, and do a follow up with another half an inch below. Keep changing between an inch and half an inch until the entire surface is covered in pleats. When you are done, move the first pin down so that it will meet the second one. Then, the third and so on.
Step No. 4: Stitch the pleats alongside the perimeter. Then, close the section you left in Step 1.
Step No. 5: Iron the straps and prepare them for sewing. Find the right spot where the straps should go. Measure the length first along the sides of the mask to position them evenly. Put one strap on each edge (one on the bottom and one at the top). Position the strapping to make a tight fit.
Step No. 6: Start sewing the straps. Place stitching on every edge of the strap that connects to the mask. Make sure to stitch them on carefully so they won’t fall off. Repeat the same process for every strap.
That’s it; you now have a well-made cloth face cover.
Step No. 2: Turn the “right side” out. Reach into the tiny section you selected and pull the fabric through the gap. Each edge will now be on the inside, which means you have successfully connected the two pieces. Tuck the edges in the section you left in Step 1 and leave them there. You will join the gap later.
Step No. 3: Form 3 pleats along the 7inch section of the fabric. Have in mind that these pleats need to be evenly dispersed and face the same direction. Pin them in place so you won’t lose track of the pleats.
To start marking the pleats, take out a pin and pinch it inside the fabric just 1.5 inches down the shorter side of the material. Then, put another pin just an inch bellow, and do a follow up with another half an inch below. Keep changing between an inch and half an inch until the entire surface is covered in pleats. When you are done, move the first pin down so that it will meet the second one. Then, the third and so on.
Step No. 4: Stitch the pleats alongside the perimeter. Then, close the section you left in Step 1.
Step No. 5: Iron the straps and prepare them for sewing. Find the right spot where the straps should go. Measure the length first along the sides of the mask to position them evenly. Put one strap on each edge (one on the bottom and one at the top). Position the strapping to make a tight fit.
Step No. 6: Start sewing the straps. Place stitching on every edge of the strap that connects to the mask. Make sure to stitch them on carefully so they won’t fall off. Repeat the same process for every strap.
That’s it; you now have a well-made cloth face cover.


Leave a Comment